


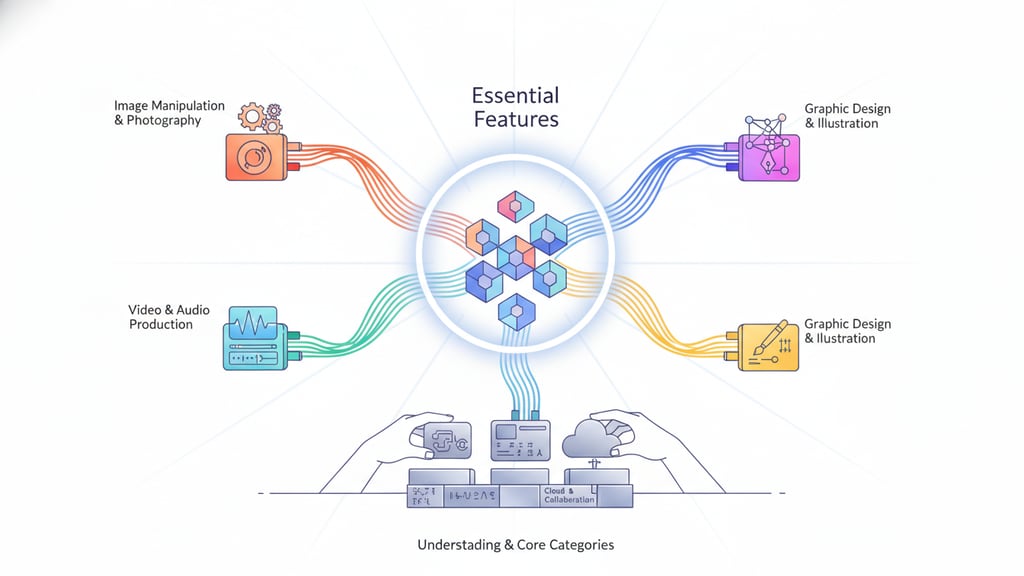
Understanding the Core Categories of Digital Editing Tools
For video projects, editing tools can be considered by intended use. Consumer-grade options emphasize ease of use, while professional-grade options emphasize broader features and advanced editing techniques. This distinction can help narrow the field before individual applications are evaluated.
Video editing software uses a non-linear editing system in which video, images, audio, and text can be arranged as clips on a timeline. Editors trim, cut, splice, and reorder those clips before exporting the completed sequence as a video file [Source: Video editing software – Wikipedia].
The most useful category is the one that reflects the project’s main material and workflow. Categorizing options by their central working model, rather than by every advertised feature, makes it easier to identify which applications merit closer evaluation.
The boundaries are not absolute. A video editor may include audio mixing, text, transitions, and visual-effects controls. Classify each option by its strongest working model rather than its longest feature list, then consider whether that model suits the material handled most often.
Comparison table
Key Decision Criteria for Selecting Your Toolset
Begin with the work expected to be completed repeatedly. A solo editor preparing short clips has different requirements from a team assembling long-form video. Define the dominant media type, typical project complexity, required deliverables, and number of collaborators before comparing individual products.
Workflow fit: Examine how the application handles importing, organizing, revising, and exporting material. A program may still be awkward if routine actions require excessive switching between panels or applications.
Compatibility: Check the file formats, project files, and peripheral devices involved in current work. If clients or colleagues exchange editable files, include that requirement rather than evaluating final exports alone.
Operating cost: Consider the purchase or subscription price alongside optional add-ons, storage, training time, and hardware changes. A lower entry price can be less attractive when essential functions require separate purchases.
Team and access model: Consider whether projects require shared libraries, review controls, or permission settings. For independent editors, these capabilities may add unnecessary complexity without serving a regular workflow purpose.
Testing a representative project with familiar source files helps identify practical limitations. Performing common revisions and producing the required delivery format reveals how the toolset handles real-world production demands.
Essential Features to Look For in Creative Suites
A practical feature set supports the complete path from source material to finished deliverable. Dependable media organization, such as searchable libraries and clear folder structures, becomes increasingly important as projects accumulate multiple files and revisions.
Match hands-on controls to the medium: evaluate timeline trimming for video, track balancing for audio, pixel adjustments for photographs, or path editing for vector artwork. A useful trial is to make one routine revision and one difficult correction, then inspect the result at its intended delivery size.
File interchange capabilities deserve careful attention. The software must support the import of standard source formats and allow detailed control over export settings, including resolution and file compression, to ensure compatibility with other tools.
Collaboration features, such as shared assets and version tracking, are highly beneficial for team environments. For individual workflows, local autosave, recovery options, and organized project packaging remain the primary requirements for reliable file management.
Interface customization, including adjustable workspaces and keyboard shortcuts, makes frequent operations more efficient. Prioritizing layout flexibility and clear preview controls over specialized effects helps maintain a faster, more intuitive editing workflow.
Common Mistakes When Adopting New Production Tools
Teams often adopt new production tools around an impressive demonstration rather than a representative assignment. A polished effect may attract attention while routine work—organizing assets, revising sequences, exchanging files, and producing deliverables—remains awkward. Test a candidate with typical source material and an ordinary deadline instead of relying on feature tours.
Another mistake is replacing the entire toolset at once. Simultaneous changes to applications, storage conventions, templates, and handoff practices make problems difficult to isolate. A limited pilot gives editors space to identify unfamiliar controls, missing functions, and incompatible project assumptions before the change reaches active production.
Editors can confuse familiar terminology with identical behavior. Testing a representative task is more informative than relying on feature names alone.
Finally, adoption plans often understate the human transition. Buying access does not establish naming rules, review responsibilities, or an agreed method for archiving finished work. Assign an owner for templates and conventions, provide a small reference project, and define which application remains authoritative during the trial. Evaluate the pilot using actual revisions and handoffs, not merely whether participants completed introductory training.
Practical Limitations of Modern Creative Applications
Feature breadth can obscure the compromises built into modern editing applications. The practical question is not whether every function exists, but whether its depth matches the work that editors perform repeatedly.
Performance depends partly on the project and workstation. High-resolution video and extensive visual effects place substantial demands on storage and graphics performance, so powerful hardware is often required, and available disk capacity also matters because video storage needs vary with resolution and compression format.
Compatibility deserves attention because video editors represent projects in program-specific file formats. Once editing is complete, the sequence must be exported as a video file for publication, with formats covering web publishing, optical media, mobile devices, and broadcast uses.
Before committing to an application, run a representative sample from import through editing and export. This practical trial can show whether the application’s workflow fits the project and whether its available controls cover the work that matters most.
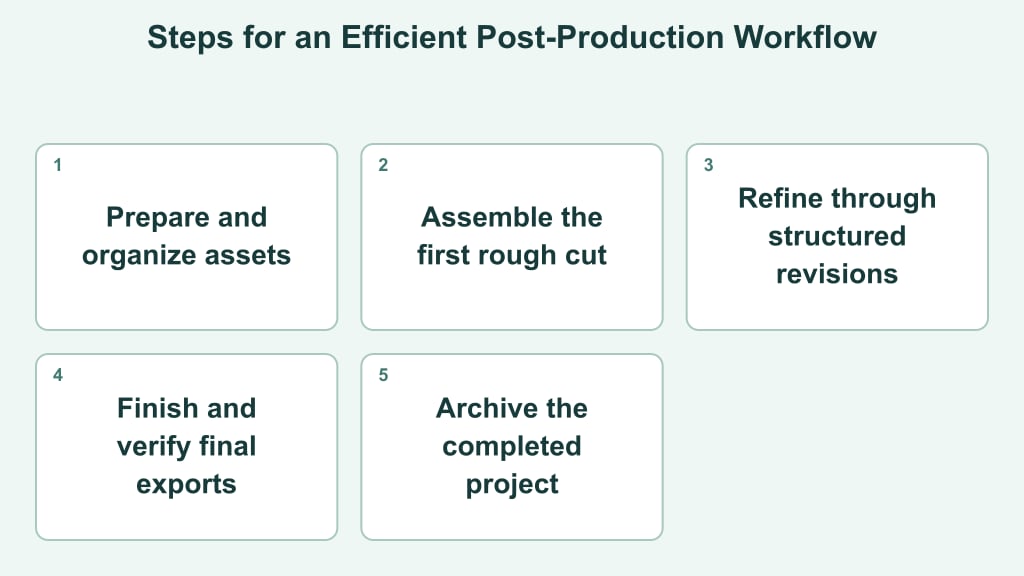
Establishing an Efficient Post-Production Workflow
Begin the workflow before creative editing starts. Create a predictable folder structure for source media, project files, graphics, audio, previews, and final exports. Use names that identify the project, content, and version clearly. Preserve untouched source files separately from generated media and working copies.
Infographic at a glance
Visual summary of the key points on editing software.





Choose tools by matching their capabilities, compatibility, operating demands, and learning burden to this sequence—not by counting features. For the next project, map one real assignment from intake to archive, then test the proposed toolset at each handoff. Keep the applications that support the process, and identify any specialist gaps before standardizing the workflow.